
Tiramisu turns soggy when ladyfingers are soaked rather than dipped. A quick pass through cooled espresso and a thick yogurt-mascarpone cream create distinct layers after an overnight chill.
The ingredient amounts and timing are sized for 9 servings. Ingredient brands, starting temperature, piece size and natural moisture can change the finish, so use the texture and doneness cues below along with the clock.
This recipe was developed through culinary research and editorial review. It is not represented as a personal kitchen test.
For another useful method in the same collection, see air fryer chicken parm recipe. You may also want air fryer fried chicken thighs.
Why this recipe works
Temperature is controlled: Bringing cold ingredients closer together in temperature prevents grainy or seized mixtures.
The mixture is built in stages: Combining a small portion first makes the final fold smoother and easier to control.
Chilling sets the texture: The dessert firms in the refrigerator, so the full rest is part of the method rather than optional waiting.
The method is designed around observable cues rather than one exact clock time. Begin checking at the early end of the range, then note any small adjustment that gives you the best result next time.
Ingredients
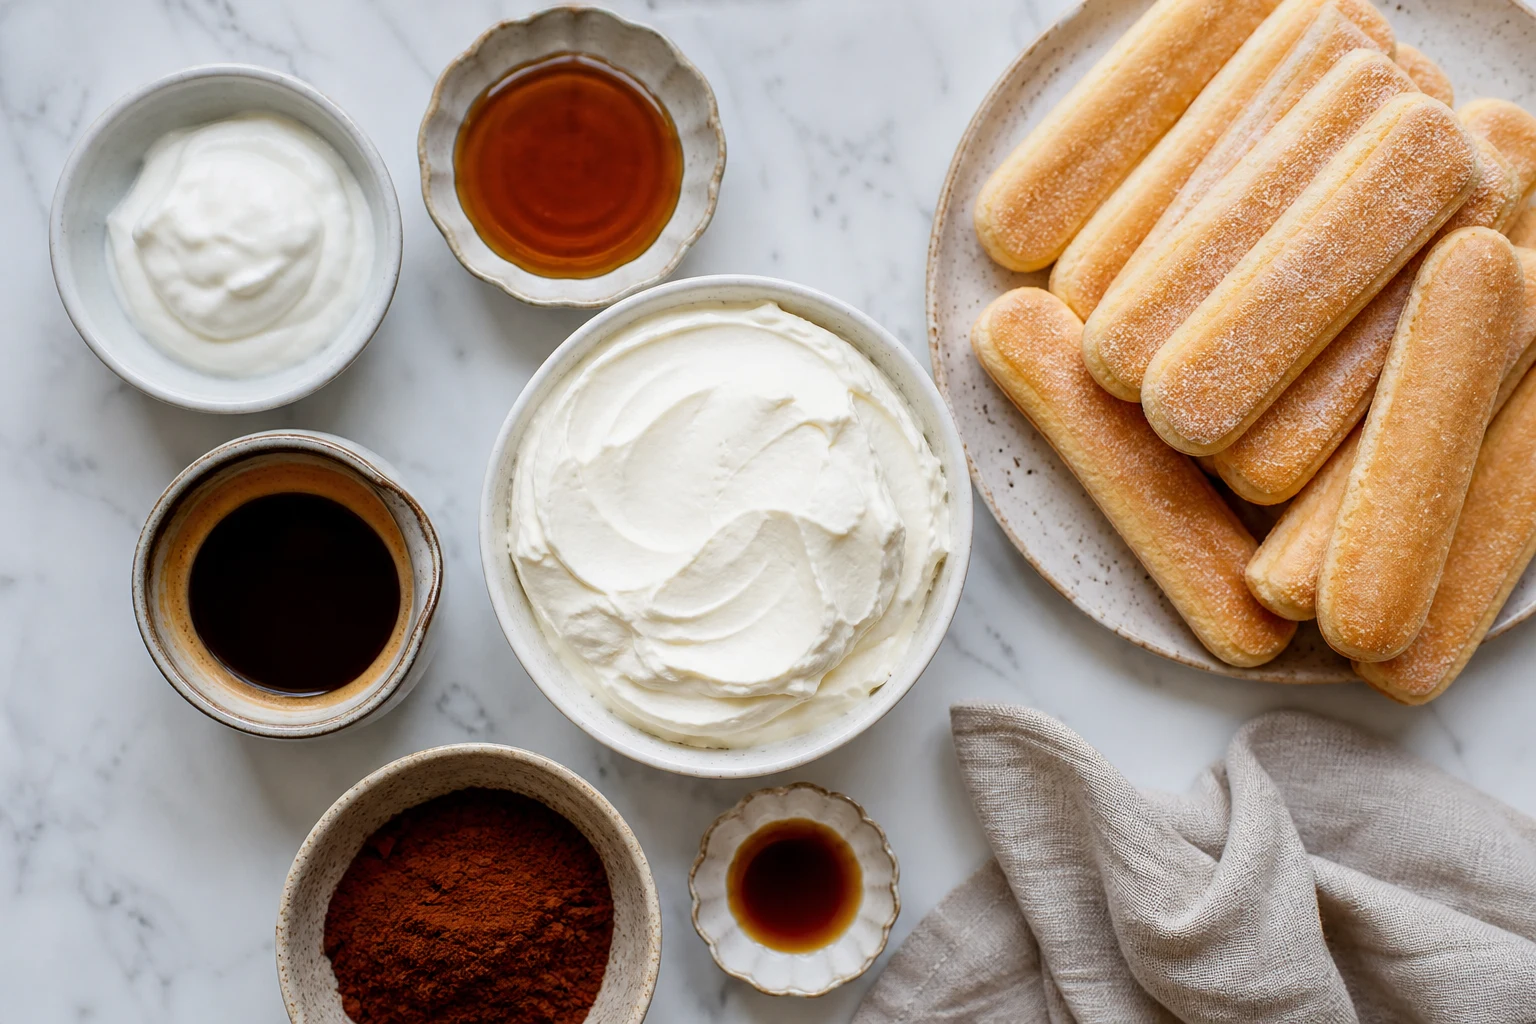
- 1 cup mascarpone, cool
- 1 1/2 cups thick Greek yogurt
- 1/3 cup maple syrup
- 1 teaspoon vanilla
- 1 1/2 cups strong espresso, cooled
- 24 crisp ladyfingers
- 2 tablespoons unsweetened cocoa
Ingredient notes
Dairy: Use thick dairy with no watery layer, and follow the recipe’s temperature cue.
Sweetener: Taste before adding more because chilling slightly mutes sweetness.
Chocolate or cocoa: Measure accurately; too much dry cocoa can make a creamy dessert chalky.
Measure the first batch as written. Once you know how the recipe behaves with your ingredients and equipment, change one variable at a time so you can tell which adjustment improved it.
How to make healthy tiramisu
1. Make cream
Beat mascarpone smooth, then beat in yogurt, maple and vanilla just until thick.
2. Prepare espresso
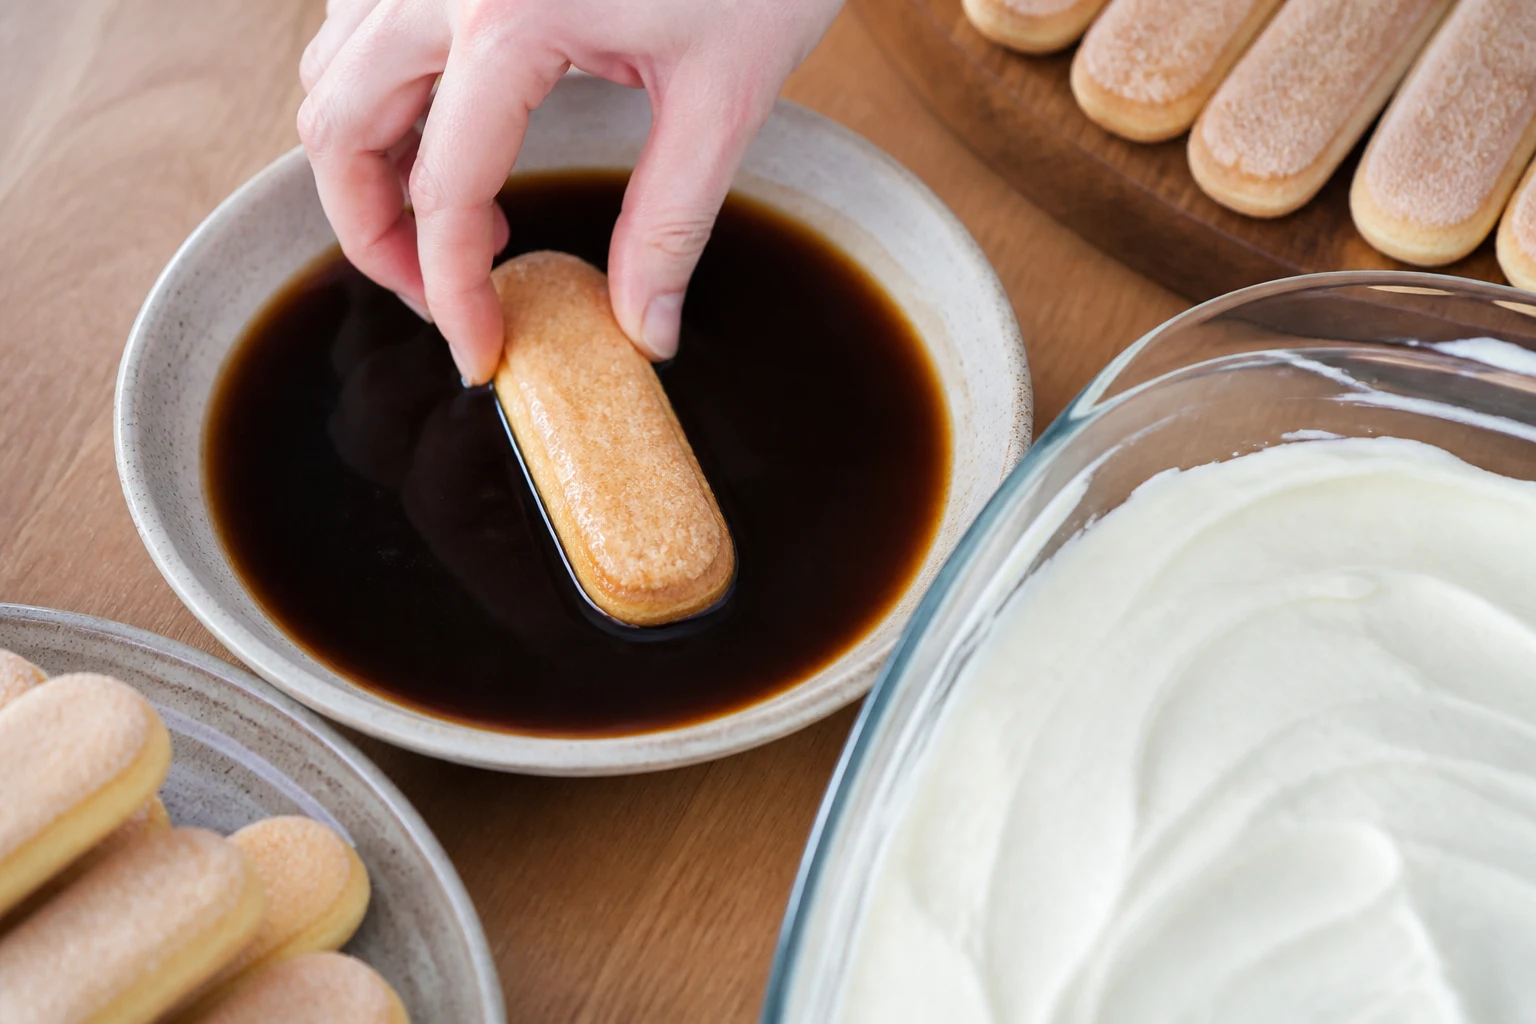
Pour cooled espresso into a shallow dish.
3. Dip
Dip each ladyfinger quickly on both sides without soaking.
4. Layer
Arrange half the ladyfingers, spread half the cream, then repeat.
5. Chill
Cover and refrigerate at least 6 hours or overnight.
6. Finish
Dust with cocoa immediately before slicing.
Quick timing and doneness guide
| Stage | What to look for | What to do |
|---|---|---|
| Before you start | Bringing cold ingredients closer together in temperature prevents grainy or seized mixtures. | Measure and prepare everything before the main cooking or mixing step |
| First check | Arrange half the ladyfingers, spread half the cream, then repeat. | Check texture or doneness at the early end of the stated range |
| Finished | Dust with cocoa immediately before slicing. | Stop when the described finish is reached instead of chasing one exact clock time |
| If it needs adjustment | Chill as directed and keep condensation from touching the surface. | Make the smallest useful adjustment, then check again |
Use this table as a decision guide. Follow ingredient labels and applicable food-safety guidance, and use a food thermometer whenever a safe internal temperature matters.
Substitutions and variations
Lower sweetness
Reduce sweetener modestly and taste the mixture before chilling.
Dairy-free
Choose thick plant-based alternatives with similar fat and water content.
Individual portions
Assemble in small glasses for faster serving and clean layers.
Change only one major component in your first variation. Moisture, sweetness, structure and cooking time affect one another, so a single change is easier to evaluate and repeat.
Serving ideas
Serve chilled in small squares. Dusting at the last moment keeps the cocoa dry and velvety.
Troubleshooting
Mixture looks grainy
Likely cause: Ingredients met at very different temperatures or were overmixed.
Fix: Temper gradually and stop mixing once smooth.
Dessert is too soft
Likely cause: The dairy was loose or chilling time was short.
Fix: Use thick dairy and allow the complete refrigerated rest.
Flavor is flat
Likely cause: Cold temperature muted the seasoning.
Fix: Add a small pinch of salt or a measured bitter element such as cocoa.
Surface looks wet
Likely cause: The dessert was covered before it set.
Fix: Chill as directed and keep condensation from touching the surface.
Storage, freezing and reheating
Refrigerator: Cover and refrigerate up to 4 days.
Freezer: Freezing is not recommended because thawed dairy can turn grainy.
Reheating: Do not reheat; serve chilled or let stand briefly at cool room temperature.
For general handling, the USDA leftovers and food-safety guidance is the outside reference used for this article. USDA recommends prompt refrigeration of perishable leftovers and safe reheating.
Frequently asked questions
Can I make it ahead?
Yes; the required chilling time makes it a practical make-ahead dessert.
Why did it turn grainy?
A sharp temperature difference or overmixing can separate dairy or chocolate.
Can I freeze it?
Refrigeration gives a smoother texture than freezing and thawing.
Recipe development note
The method for healthy tiramisu recipe was developed through culinary research and editorial review. The times are a practical range, not a claim that every appliance, ingredient brand or batch was personally tested in one kitchen.
Nutrition is an estimate per serving and varies with brands, trimming, optional ingredients and serving size. The accompanying visuals are AI-assisted food-editorial images, not photographs of a kitchen test.
Printable recipe card
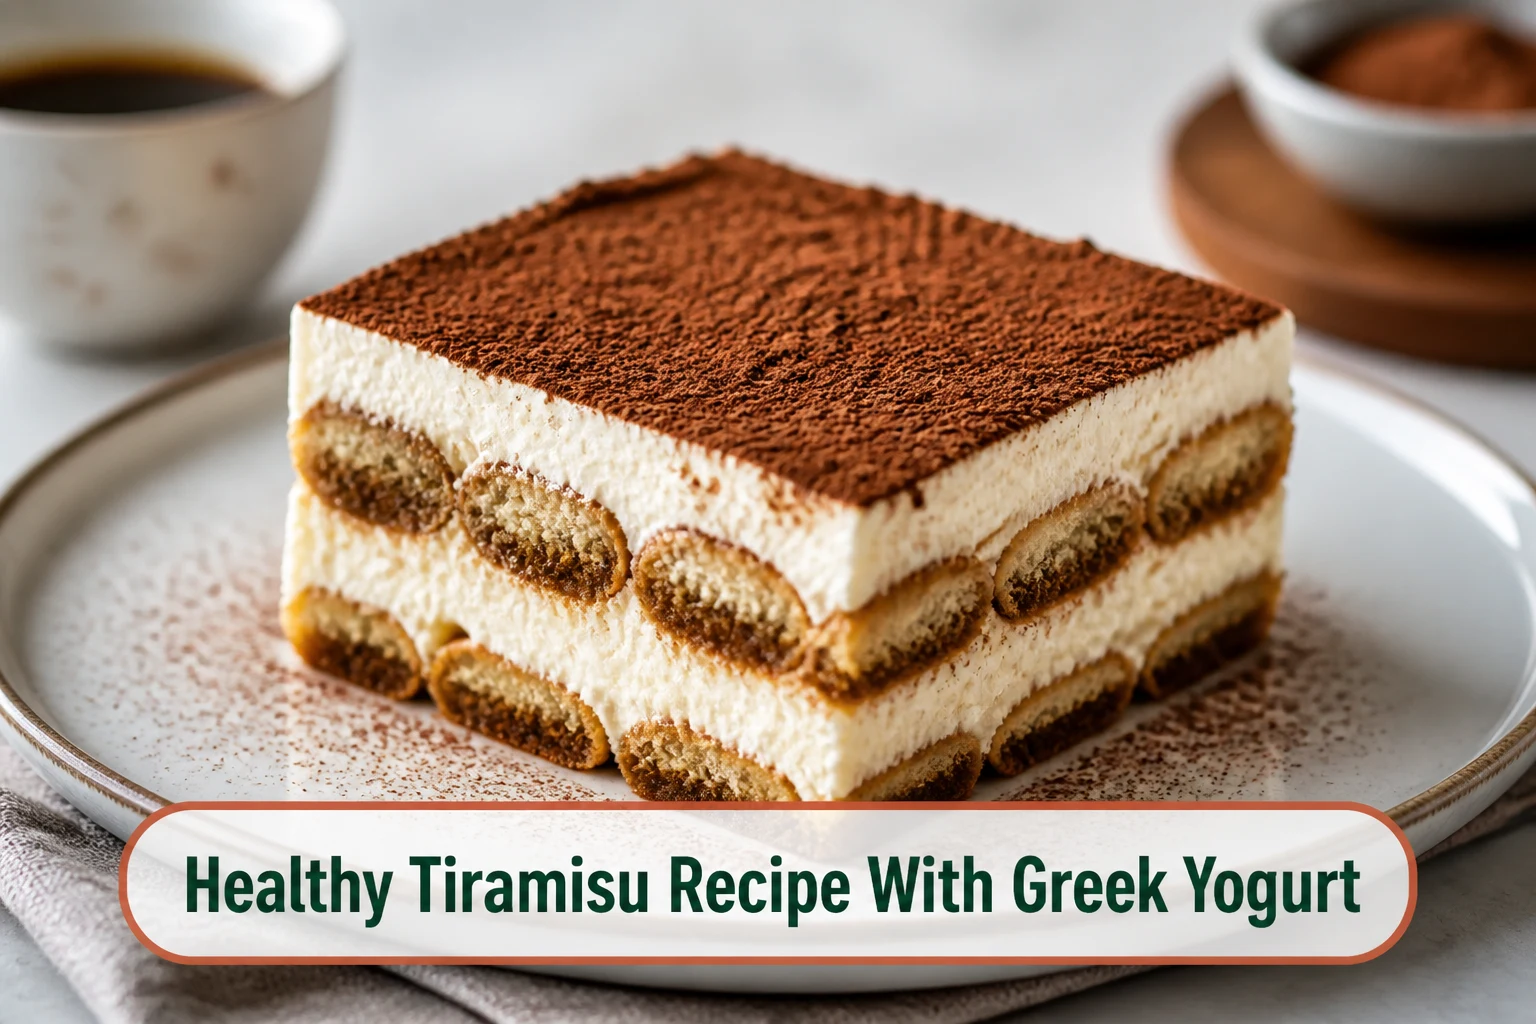
Healthy Tiramisu Recipe With Greek Yogurt
Ingredients
Equipment
Method
- Beat mascarpone smooth, then beat in yogurt, maple and vanilla just until thick.
- Pour cooled espresso into a shallow dish.
- Dip each ladyfinger quickly on both sides without soaking.
- Arrange half the ladyfingers, spread half the cream, then repeat.
- Cover and refrigerate at least 6 hours or overnight.
- Dust with cocoa immediately before slicing.
Notes
- Read relevant ingredient labels and the manual for any appliance used.
- Begin checking at the early end of the time range.
- USDA recommends prompt refrigeration of perishable leftovers and safe reheating.
- This recipe was developed through culinary research and editorial review.
This recipe was developed through culinary research and editorial review. Equipment, ingredient brands, starting temperature and batch size can change the timing; follow the method cues and applicable safety guidance.
Nutrition is an estimate per serving and varies with brands, optional ingredients and portion size.