
These air fryer fried chicken thighs are designed for the part of fried chicken that matters most: a rugged, well-seasoned crust around juicy meat. Boneless, skinless thighs cook evenly and stay forgiving, while a buttermilk dip and seasoned flour create crisp flakes without a pot of frying oil.
The key is managing moisture. Flour alone can turn dusty in an air fryer, but a few drops of buttermilk rubbed into the flour make small clumps that fry into craggy edges. A deliberate coating of oil spray then gives the dry mixture enough fat to brown. Crowding the basket or leaving floury patches dry works against both goals.
This recipe was developed through culinary research and editorial review. Air-fryer wattage, basket shape and thigh thickness change cooking time, so use the stated range as a starting point and verify every piece with an instant-read thermometer. Poultry should reach 165°F in the thickest part.
For more crisp chicken dinners, browse the air fryer recipe hub. You may also like air fryer chicken Parmesan or these juicy boneless chicken thighs in the air fryer; those use different coatings and should remain separate recipes.
Why this method works
- Boneless thighs cook evenly. Their relatively uniform thickness makes them easier to finish before the coating becomes too dark.
- Buttermilk seasons and binds. It gives the flour something to grip without requiring an egg.
- Flour clumps create texture. Small damp flakes become the rough, crisp spots associated with fried chicken.
- Oil spray targets dry areas. The air supplies heat, but the flour still needs a thin film of fat to brown rather than remain chalky.
- Temperature decides doneness. Color is useful for the crust, but a thermometer confirms that the chicken is safe.
Ingredients
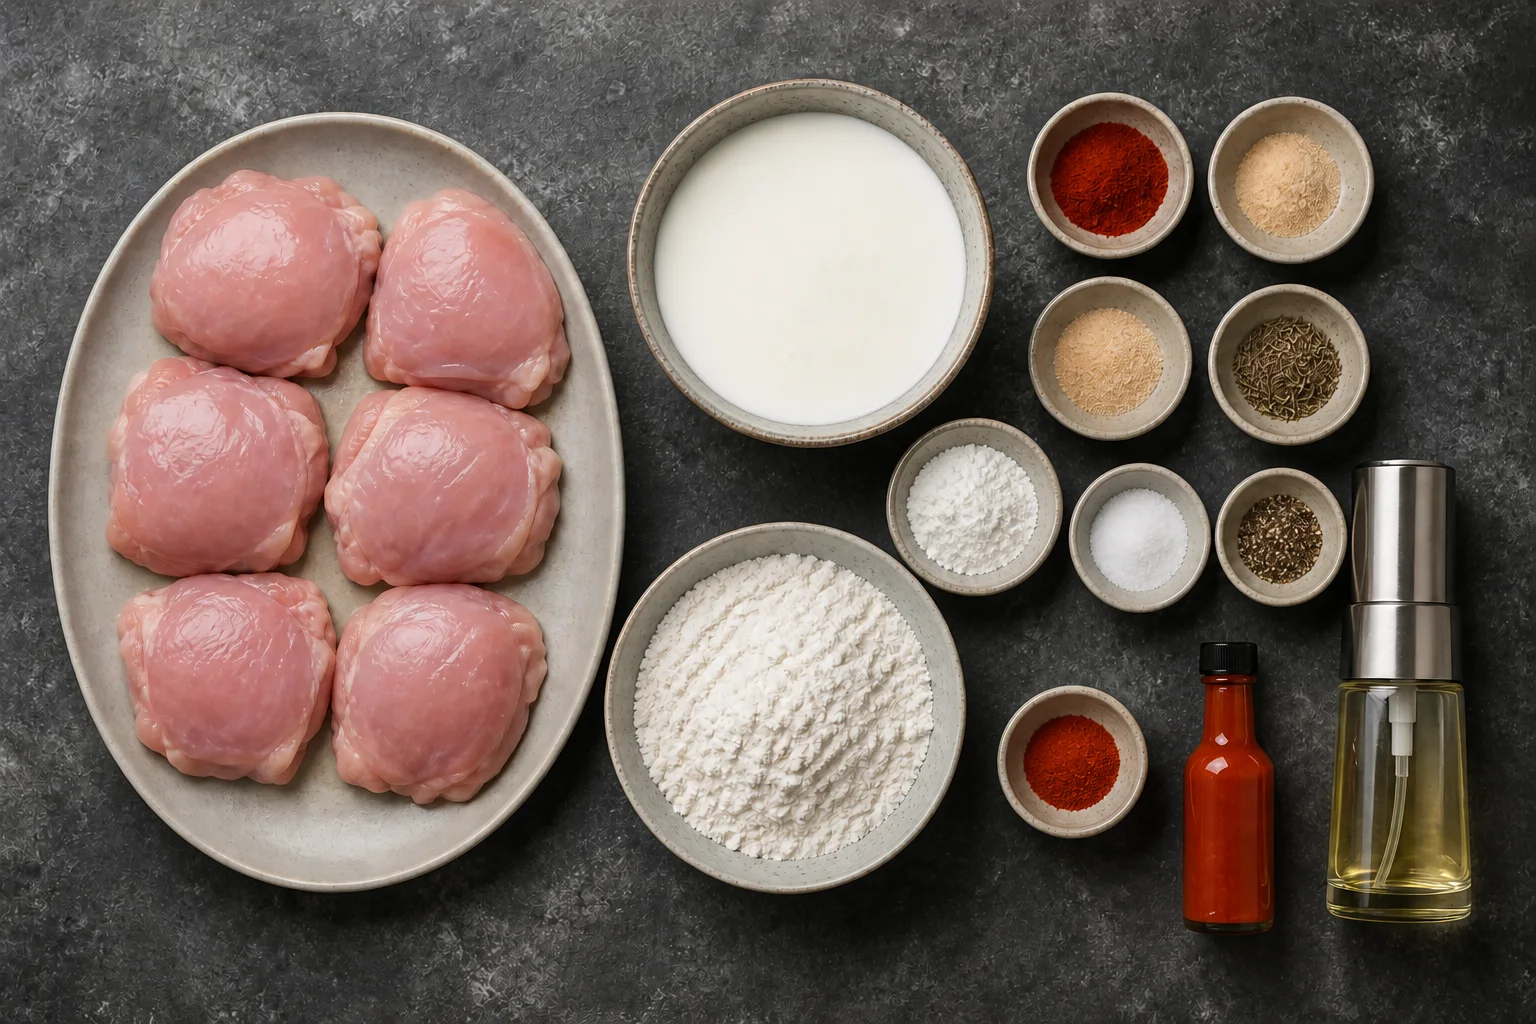
For the chicken
- 1 1/2 pounds (680 grams) boneless, skinless chicken thighs, about 6 medium pieces
- 3/4 cup (180 milliliters) cultured buttermilk
- 1 tablespoon hot sauce, optional
- 1 teaspoon Diamond Crystal kosher salt, or 3/4 teaspoon fine salt
- 1/2 teaspoon ground black pepper
For the seasoned coating
- 1 cup (125 grams) all-purpose flour
- 1/4 cup (32 grams) cornstarch
- 2 teaspoons smoked or sweet paprika
- 1 teaspoon garlic powder
- 1 teaspoon onion powder
- 1/2 teaspoon dried thyme
- 1/4 teaspoon cayenne pepper, optional
- 1/2 teaspoon fine salt
- Neutral oil spray without added flour, as needed
Ingredient notes and substitutions
Chicken thighs: Use boneless, skinless pieces close to the same size. Bone-in thighs require a different temperature strategy and longer cooking time, so they are not a direct substitution here.
Buttermilk: Cultured buttermilk has the right body and acidity. In a pinch, stir 2 teaspoons lemon juice into 3/4 cup whole milk and let it stand for 5 minutes. The homemade substitute will be thinner, so allow more excess to drip away.
Cornstarch: Mixing cornstarch with flour reduces gluten development and promotes a lighter crust. Arrowroot can brown quickly and is not a one-for-one choice for this method.
Hot sauce and cayenne: Both add gentle heat. Omit either or both for a mild version; the coating will still be flavorful.
Oil spray: Use a refillable mister or a propellant-free spray if the air-fryer manufacturer recommends it. Do not use a spray that contains flour because it can make it difficult to see which parts of the coating remain dry.
How to make fried chicken thighs in the air fryer
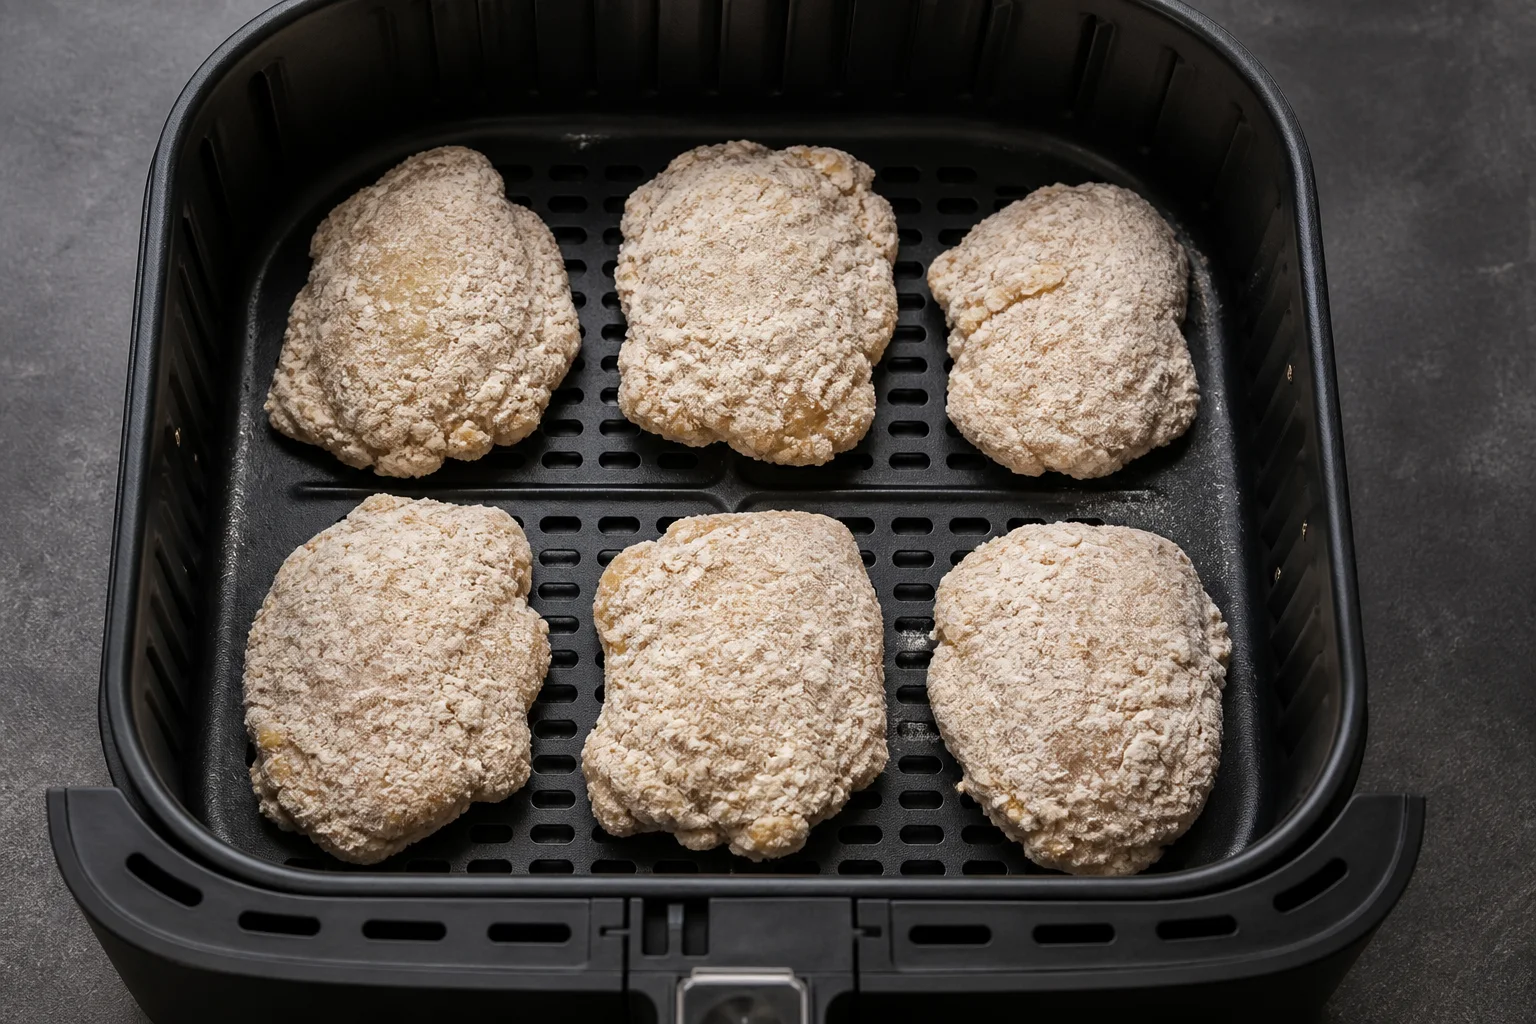
1. Prepare the chicken
Pat the thighs dry and trim any large pieces of loose fat. If one end is much thicker than the other, open the thigh flat rather than pounding it thin. Season both sides with 1 teaspoon kosher salt and the black pepper.
2. Make the buttermilk mixture
Stir the buttermilk and hot sauce in a medium bowl. Add the chicken and turn each piece until coated. Let it stand for 15 minutes while you prepare the flour. For advance preparation, cover and refrigerate for up to 8 hours.
3. Build a craggy flour mixture
Whisk the flour, cornstarch, paprika, garlic powder, onion powder, thyme, cayenne and remaining 1/2 teaspoon fine salt in a shallow bowl.
Drizzle 2 tablespoons of the seasoned buttermilk into the flour. Rub it through the mixture with your fingertips until pea-size flakes form. Break up any wet lump larger than a marble; very large clumps can remain gummy.
4. Coat each thigh
Lift one thigh from the buttermilk and let the excess drip off for several seconds. Place it in the flour mixture, spoon flour over the top and press firmly. Turn and repeat until no wet spots show.
Set the coated thigh on a rack or tray. Repeat with the remaining chicken, keeping your wet and dry hands separate if possible. Discard leftover buttermilk and flour because both have contacted raw chicken.
5. Preheat and oil
Preheat the air fryer to 380°F for 3 minutes if recommended by the appliance manual. Lightly mist the basket. Spray the top and sides of each coated thigh until the flour looks evenly damp but not soaked.
6. Air-fry in a single layer
Arrange the thighs with space between them. Cook at 380°F for 8 minutes. Turn gently with silicone-tipped tongs, then spray every pale or powdery patch. Cook for another 6 to 8 minutes.
Begin checking the smallest piece first. The thickest part of every thigh must reach at least 165°F. The USDA recommends using a food thermometer because air-fryer capacity and power vary; its air-fryer food-safety guidance also advises against overcrowding.
7. Rest before serving
Move the chicken to a clean rack, not the raw-chicken tray. Rest for 3 minutes so steam can escape without softening the underside. Taste before adding finishing salt because hot sauce and seasoning brands vary.
How to get a crisp coating instead of dry flour
Look closely at the chicken when you turn it. Any white, dusty area needs a light mist of oil. The surface should not look greasy, but the flour cannot brown properly while completely dry.
Avoid lining the full basket with solid parchment or foil. Blocking the holes reduces airflow under the thighs and collects steam. If your appliance requires a liner, use only one designed for that model and follow its instructions.
Batch cooking is also important. Six medium thighs may fit in a large basket, while a compact fryer may hold only three or four. A second batch will usually finish faster than an overcrowded first batch.
Troubleshooting
The coating falls off when I turn the chicken
Let excess buttermilk drip away, press the flour firmly and use broad silicone-tipped tongs. If the coating feels stuck, loosen the edge gently before lifting instead of pulling straight up.
The crust looks pale
Spray the pale areas and cook for 1 to 2 more minutes. Check the center temperature first so the chicken does not overcook while you chase a darker color.
The outside is brown but the center is below 165°F
Reduce the temperature to 350°F and continue in 2-minute increments. The thighs may be thicker than specified or the appliance may heat aggressively from above.
The coating is gummy
Too much buttermilk probably stayed on the chicken, or the flour clumps were too large. Let the liquid drip for several seconds and keep the damp flakes no larger than peas.
The chicken is cooked but not juicy
Start checking at 14 minutes, especially for small thighs. Insert the thermometer through the side into the thickest point; this places more of the probe in the center of a thin piece.
Serving ideas
Serve these thighs with coleslaw, corn, pickles or a crisp green salad. For a sandwich, rest the chicken until it stops steaming, then add it to a toasted bun with shredded lettuce and a small amount of sauce. Too much sauce will soften the crust.
Storage and reheating
Refrigerate cooked chicken within 2 hours in a shallow, airtight container. FoodSafety.gov lists cooked meat or poultry leftovers at 3 to 4 days in a refrigerator kept at 40°F or below; see its cold-storage chart.
To reheat, place the thighs in a 350°F air fryer in a single layer for approximately 4 to 6 minutes. Turn once and verify that the center reheats to 165°F. A microwave works, but trapped steam will soften the coating.
For freezing, cool the chicken completely, wrap each thigh and store it in a freezer-safe container for up to 2 months for best crust quality. Thaw overnight in the refrigerator before reheating.
Make-ahead option
Mix the dry coating up to one week ahead and keep it airtight at room temperature. The chicken can sit in the buttermilk mixture in the refrigerator for up to 8 hours. Coat it shortly before cooking; a long rest after flouring allows the coating to absorb moisture and become heavy.
Frequently asked questions
Can I use bone-in chicken thighs?
Not with the same timing. Bone-in thighs are thicker and need more time for heat to reach the center. Use a recipe developed specifically for bone-in pieces rather than letting this coating become too dark.
Can I use skin-on thighs?
Skin under a flour coating can turn rubbery before enough fat renders. This method is designed for boneless, skinless thighs.
Can I stack the chicken thighs?
No. Stacked pieces trap steam and cook unevenly. Arrange one layer with visible space and work in batches.
How do I know when chicken thighs are done?
Insert an instant-read thermometer through the side into the thickest part without letting the probe touch the basket. Each thigh should reach at least 165°F; appearance alone cannot confirm safety.
Recipe at a glance
| Metric | Details |
|---|---|
| Prep time | 20 minutes |
| Cook time | 16 minutes |
| Total time | 36 minutes |
| Yield | 6 servings |
Printable recipe card
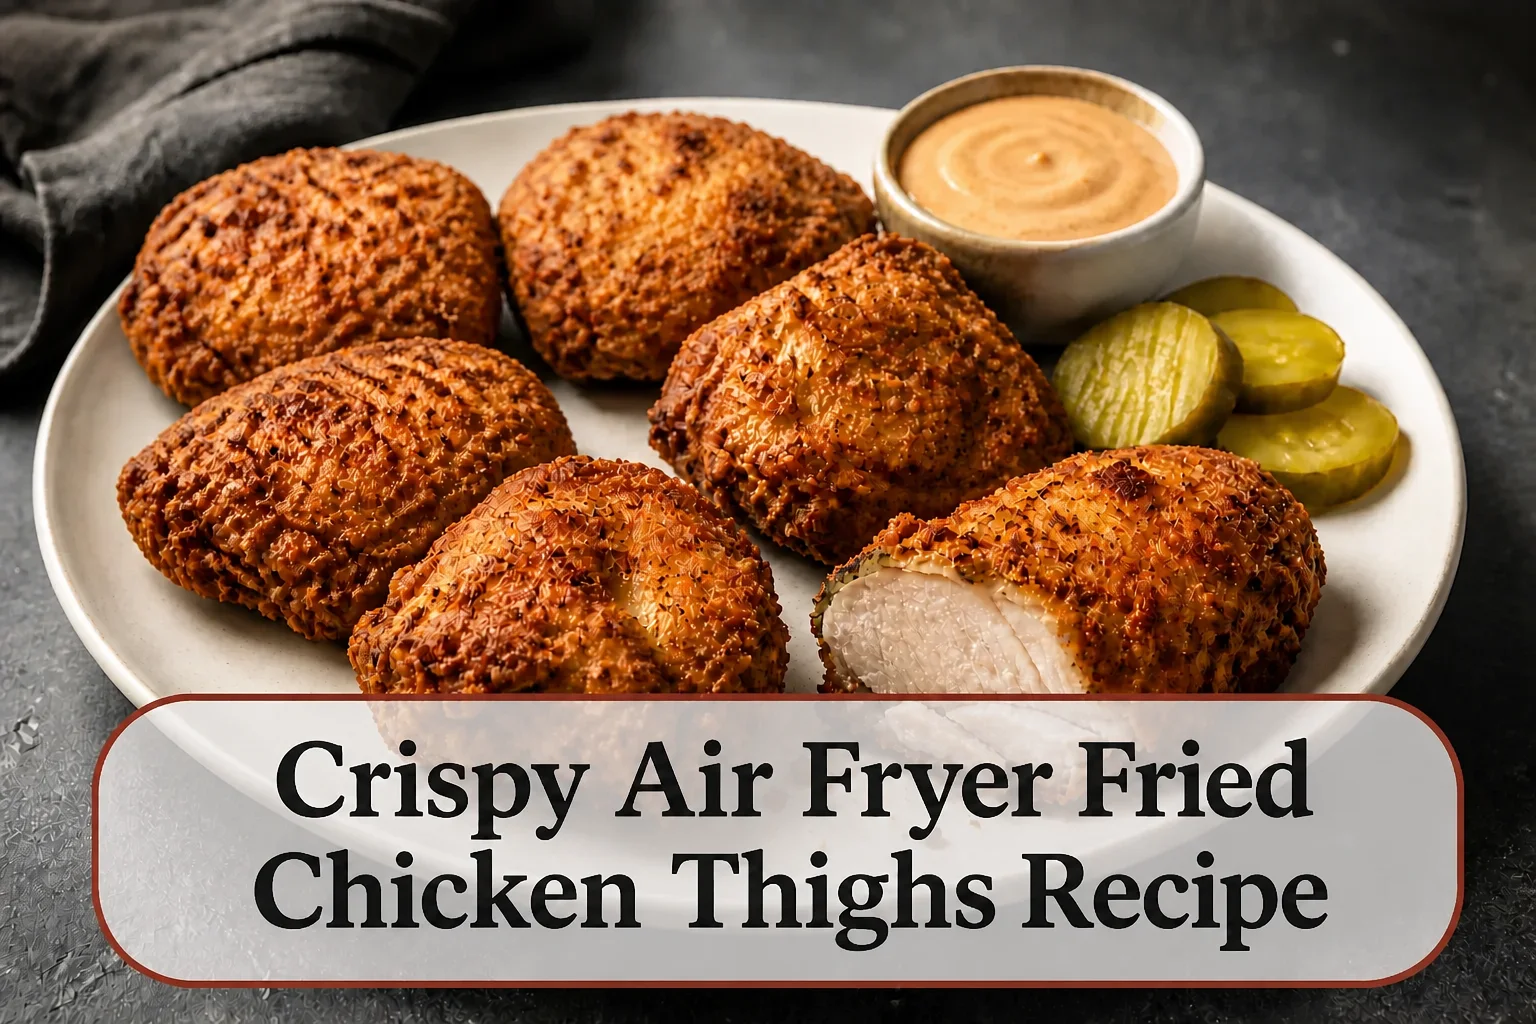
Crispy Air Fryer Fried Chicken Thighs Recipe
Ingredients
Equipment
Method
- Pat the thighs dry, trim loose fat and open them flat. Season both sides with kosher salt and black pepper.
- Combine the buttermilk and optional hot sauce. Coat the chicken and let it stand for 15 minutes.
- Mix flour, cornstarch, paprika, garlic powder, onion powder, thyme, cayenne and fine salt. Rub in 2 tablespoons seasoned buttermilk to form pea-size flakes.
- Let excess buttermilk drip away, then press each thigh firmly into the flour mixture until no wet spots show.
- Preheat the air fryer to 380°F if recommended. Lightly mist the basket and spray the coated chicken until no dry flour remains.
- Cook in one layer for 8 minutes. Turn, spray pale spots and cook for 6 to 8 minutes longer, until every thigh reaches 165°F in the thickest part.
- Move the chicken to a clean rack and rest for 3 minutes before serving.
Notes
- Use boneless, skinless thighs of similar size.
- Spray every powdery patch so the flour can brown.
- Cook in batches rather than overcrowding the basket.
- This recipe was developed through culinary research and editorial review. Air-fryer performance varies, so verify doneness with a thermometer.
This recipe was developed through culinary research and editorial review. Air-fryer models and thigh thickness vary, so confirm doneness with an instant-read thermometer.
Nutrition is an estimate based on generic ingredient data; actual values vary with flour pickup, trimming and oil spray.