
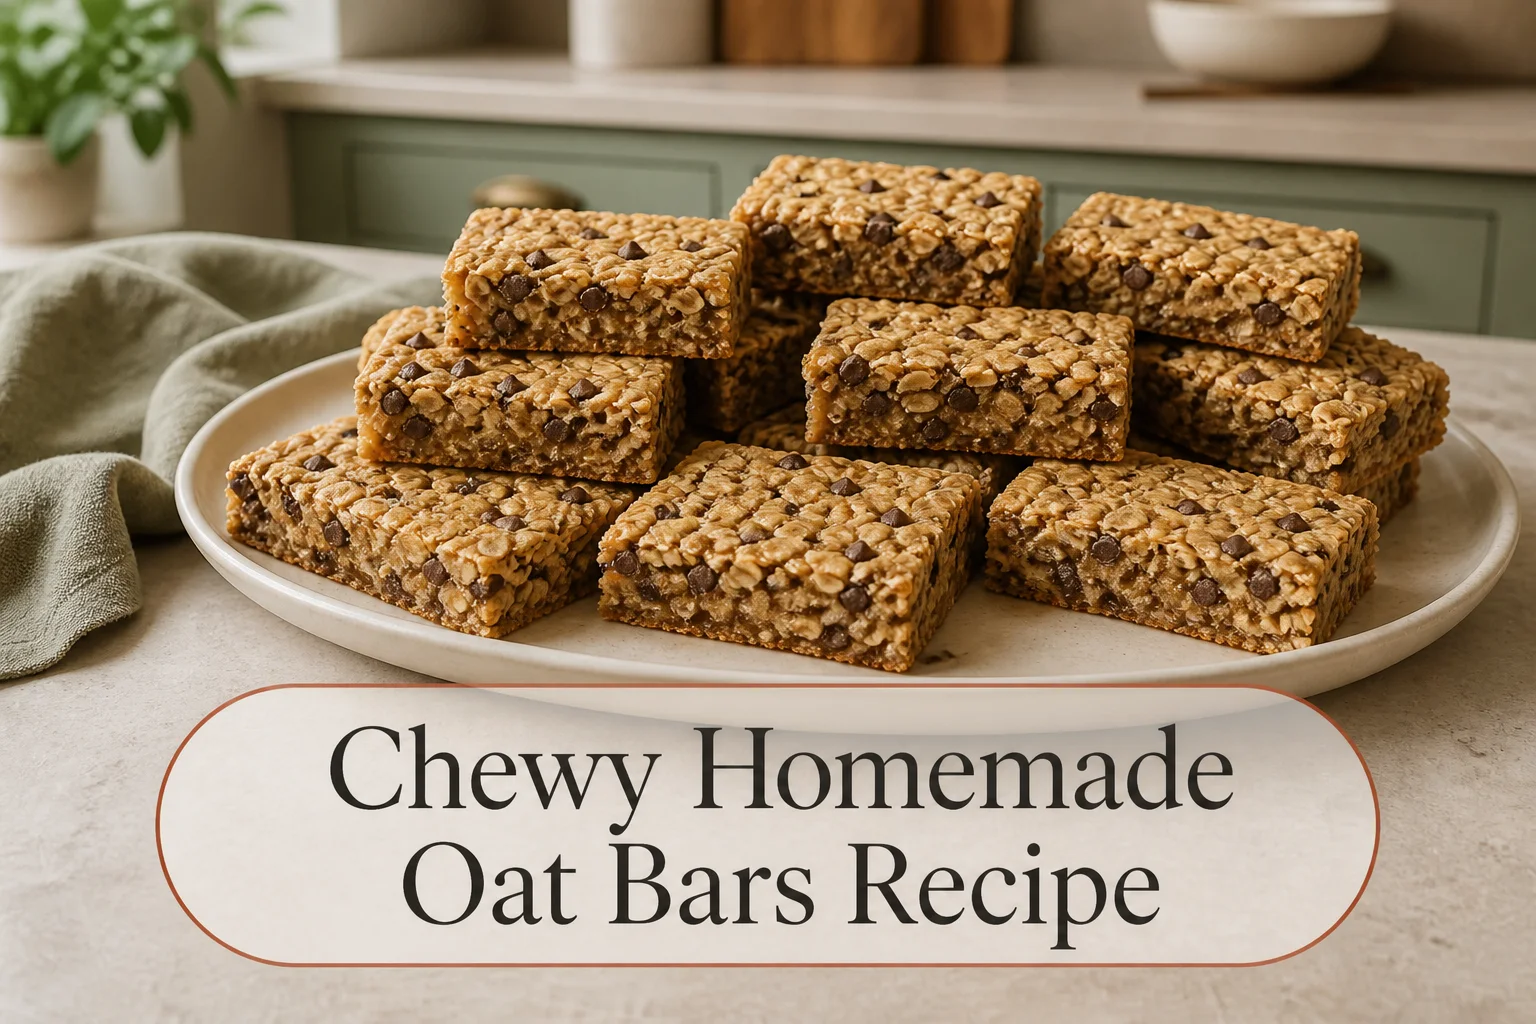
These homemade oat bars are chewy through the center, lightly crisp at the edges and sturdy enough to pack without scattering crumbs. Creamy peanut butter, honey and one egg form the binder, while a small amount of oat flour fills the gaps between rolled oats so the cooled slab cuts into clean rectangles.
The method focuses on three details that prevent breakage: thoroughly mixing the warm binder, pressing the mixture firmly into an even layer and cooling the baked slab completely before cutting. The bars are baked only until the edges color and the center feels set; overbaking removes the moisture that keeps them cohesive.
This recipe was developed through culinary research and editorial review. Peanut butter viscosity, oat thickness, pan material and oven calibration vary, so use the pressed-layer, edge-color and cooling cues below.
For a round no-bake version with protein powder, use the peanut butter oatmeal protein balls recipe. For a soft quick bread made entirely with oat flour, see the oat flour banana bread recipe.
Why homemade oat bars fall apart
Rolled oats are large, dry flakes with relatively little surface area for a binder to grip. If they are stirred with a thin drizzle of sweetener and loosely spread in a pan, the baked mixture has empty spaces and breaks along them.
This formula combines peanut butter and honey with an egg. Oat flour fills small gaps, and ground flax absorbs loose moisture. Firm pressing forces those materials into contact before heat sets the egg and thickens the binder.
Cooling is part of the structure. A warm slab contains mobile fat and steam. Cutting it early compresses the center and pulls the edges apart, even if it will become stable after an hour on a rack.
Ingredients
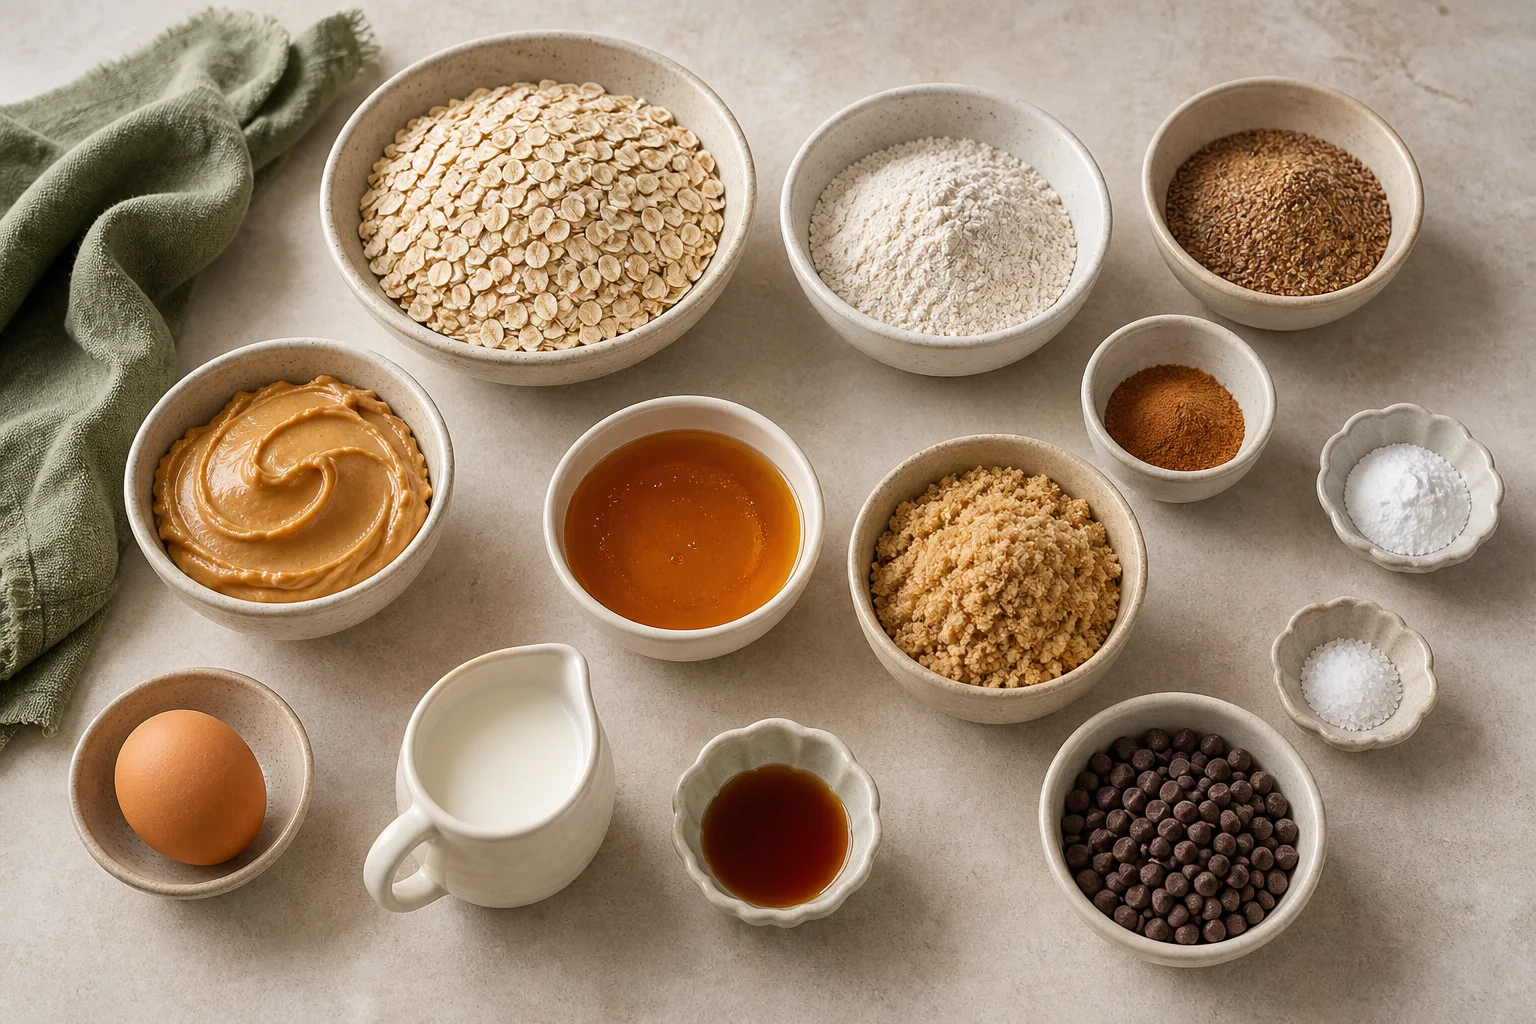
- 2 cups old-fashioned rolled oats, 180 grams
- 1/2 cup oat flour, 60 grams
- 1/4 cup ground flaxseed, 28 grams
- 1 teaspoon ground cinnamon
- 1/2 teaspoon baking powder
- 1/2 teaspoon fine salt
- 1/2 cup creamy peanut butter, 128 grams
- 1/3 cup honey, 113 grams
- 1/4 cup packed light brown sugar, 50 grams
- 1 large egg, about 50 grams without shell
- 2 tablespoons milk, 30 grams
- 1 teaspoon vanilla extract
- 1/3 cup mini chocolate chips or finely chopped dried fruit, 60 grams, optional
Ingredient notes and substitutions
Rolled oats: Old-fashioned oats create a distinct chewy flake. Quick oats absorb binder faster and make a softer, more compact bar; use the same weight and add 1 tablespoon milk if the mixture will not compress.
Oat flour: Oat flour fills spaces between flakes. Make it by blending rolled oats very finely, then weigh 60 grams. Do not leave it coarse enough to look like chopped oats.
Ground flaxseed: Ground flax absorbs moisture and supports the set. Finely ground chia can replace it by weight but thickens more strongly; expect to add 1 tablespoon milk.
Peanut butter: Conventional creamy peanut butter gives the most consistent binder. Natural peanut butter can work if stirred completely from the jar bottom. Very runny natural peanut butter may need 1 to 2 tablespoons additional oat flour.
Honey: Honey supplies adhesion as well as sweetness. Pure maple syrup can replace it by weight, but it makes a softer binder and may require another tablespoon oat flour after the five-minute rest.
Brown sugar: A modest amount helps the bars remain chewy after cooling. Coconut sugar can replace it by weight, producing a darker, slightly drier bar. Removing it entirely makes the texture less cohesive.
Egg: The egg sets during baking and reinforces the binder. A flax egg does not set in the same way and is not a direct substitution in this version.
Milk: Dairy or unsweetened nondairy milk works. It loosens the binder just enough to coat every oat; do not pour extra milk without checking the pressed-mixture cue.
Mix-ins: Mini chips and finely chopped dried fruit fit between flakes. Large nuts or chocolate chunks create fracture points. Keep additions to 60 grams total.
How to make homemade oat bars
1. Prepare the pan and oven
Heat the oven to 325°F with a rack in the center. Lightly grease an 8-inch square metal pan and line it with parchment across the bottom and two opposite sides.
Leave enough parchment overhang to lift the cooled slab. A 9-inch pan makes thinner bars that can dry sooner, so begin checking 4 to 5 minutes early if using one.
2. Combine the dry ingredients
In a large bowl, whisk rolled oats, oat flour, ground flax, cinnamon, baking powder and salt. Break up oat-flour lumps and distribute the fine ingredients across the flakes.
Add optional mini chips or chopped dried fruit now. Coating them with the dry mixture helps prevent clumps.
3. Warm the binder gently
Place peanut butter, honey and brown sugar in a small saucepan. Warm over low heat for 2 to 3 minutes, stirring, just until glossy and the sugar begins dissolving.
Do not boil. High heat can cook moisture out of the honey and make the finished bars hard. Remove the pan from heat and let it stand for 2 minutes.
4. Add egg, milk and vanilla
Whisk the egg, milk and vanilla in a small bowl. While whisking the peanut-butter mixture continuously, stream in the egg mixture.
The binder should become smooth and slightly thicker. If the peanut-butter mixture is very hot, it can scramble the egg; the two-minute pause prevents that.
5. Coat every oat
Pour the binder over the dry ingredients. Fold slowly, scraping the bowl bottom, until no dusty oat flour remains and every flake looks lightly coated.
Let the mixture rest for 5 minutes. It should become tacky and form a firm clump when a tablespoon is squeezed.
6. Correct only if needed
If a squeezed portion scatters dry crumbs, fold in 1 tablespoon milk. If it smears like paste and cannot hold a mound, add 1 tablespoon oat flour and wait 2 minutes.
Make only one small correction at a time. The mixture should not pour; it should resemble damp, sticky granola.
7. Press into a compact layer
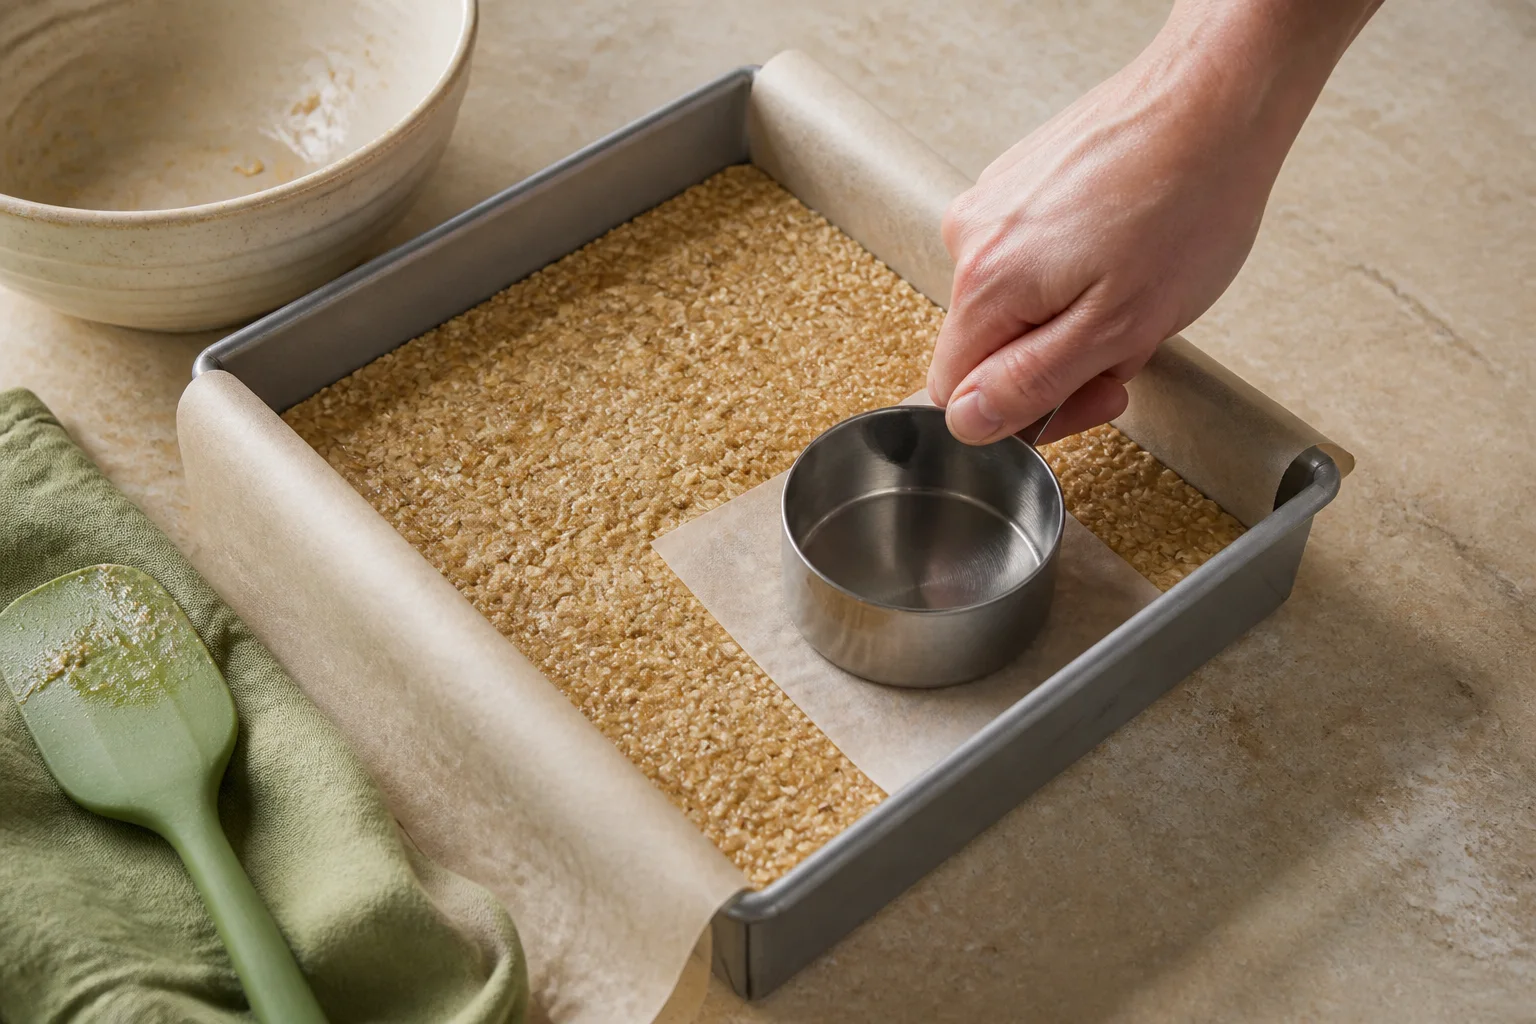
Transfer to the prepared pan and distribute it into the corners. Lay a small sheet of parchment over the surface and press with the flat bottom of a measuring cup.
Use overlapping passes from center to edges. The layer should be level, densely compacted and about 3/4 inch thick, with no visible loose flakes around the perimeter.
8. Bake to the set cue
Bake for 22 to 28 minutes. The edges should be light golden, the center should look dry rather than glossy and a fingertip should meet gentle resistance.
Do not wait for the entire surface to become dark brown. The bars continue firming as they cool, and a deeply browned slab becomes dry and crumbly.
9. Cool completely
Cool in the pan for 30 minutes. Lift the slab by the parchment and place it on a wire rack for another 45 to 60 minutes.
The center must feel room-temperature and firm before cutting. For the cleanest edges, refrigerate the fully cooled slab for 20 minutes.
10. Cut into bars
Place the slab on a cutting board. Use a large sharp knife to cut four equal strips, then rotate and cut each strip into three pieces for 12 bars.
Press the knife straight down rather than sawing through the oats. Wipe the blade between cuts when chocolate or binder begins to collect.
Oat bar texture guide
| Stage or symptom | Meaning | Action |
|---|---|---|
| Rested spoonful will not hold when squeezed | Binder is insufficient for the dry ingredients | Add 1 tablespoon milk |
| Mixture smears and flows after resting | Peanut butter is runny or dry ingredients were undermeasured | Add 1 tablespoon oat flour |
| Pressed layer has loose flakes at edges | Mixture is not compact enough | Cover with parchment and press again |
| Center is matte and edges are light golden | Bars are baked enough to set while remaining chewy | Remove from oven |
| Warm slab bends when lifted | Binder is still soft | Continue cooling before cutting |
| Cool bar snaps hard instead of bending slightly | It was overbaked or too thin | Shorten the next bake and verify pan size |
The correct baked slab can feel slightly soft in the center while hot. Judge final firmness only after the full cooling period.
Pressing matters as much as the binder
A good binder cannot bridge large air gaps between loosely piled oats. Mechanical pressure places flakes close enough for the sticky mixture and egg to connect them.
Parchment keeps the measuring cup from sticking. Press around the perimeter first, because corners often receive less force and become the first pieces to crumble.
Keep the layer level. A thin corner overbakes before a thick center sets. Check from the side of the pan and move mixture before the final press if the surface slopes.
Do not use fingertips alone. They leave small hills and valleys and cannot apply even pressure across the full pan.
Doneness without drying the bars
At 325°F, the binder sets gradually and the oats toast without rapidly darkening. The 22-to-28-minute range accounts for pan color and oven variation.
Look first at the center. Raw binder appears shiny and moves under gentle pressure. A ready center is matte and resists lightly but does not feel rock-hard.
The edges should show a narrow golden band. If they are dark brown, the corner pieces are likely to be crisp rather than chewy.
An instant-read thermometer is not necessary for these thin bars. Visual cues and cooling behavior are more useful than trying to probe a layer less than an inch thick.
Cutting clean oat bars
Lift only after the first 30-minute pan cooling. Pulling on parchment while the binder is hot can split the slab through the center.
Use a long knife that can cross most of the slab in one downward motion. A serrated knife saws individual flakes away and creates more crumbs.
If the knife compresses the bar, wait longer. If the slab is cool but slightly tacky, a 20-minute refrigerator chill firms the peanut butter and makes cleaner lines.
Cut the entire slab before separating the bars. The surrounding pieces support each other during the first passes.
Flavor variations
Cranberry almond: Use 1/4 cup finely chopped dried cranberries and 1/4 cup finely chopped almonds. This includes peanut and tree-nut allergens.
Chocolate peanut butter: Use mini chocolate chips and add 1 tablespoon unsweetened cocoa to the dry mixture plus 1 tablespoon milk to the binder.
Apple cinnamon: Replace mix-ins with 1/3 cup finely diced dried apple and increase cinnamon to 1 1/2 teaspoons. Fresh apple adds too much water for a direct substitution.
Sunflower seed: Replace peanut butter by weight with smooth sunflower seed butter. The color can change during baking due to natural compounds; verify every ingredient label for the intended allergy needs.
Coconut: Add 1/3 cup finely shredded unsweetened coconut and reduce rolled oats by 2 tablespoons. Coconut absorbs moisture, so retain the full milk amount.
No mix-ins: Omit them without changing the base. The plain version has the fewest fracture points and the cleanest cuts.
Troubleshooting
The bars crumble when cut
They may be warm, underpressed or short on binder. Cool completely, press firmly with a flat cup and perform the squeeze test before filling the pan.
The bars are hard
They were baked too long, the layer was thin or the binder boiled. Use an 8-inch pan, warm the binder only until glossy and remove the bars when the edges are light golden.
The center is sticky or wet
The bars may be underbaked or the peanut butter may be unusually runny. Return an uncut slab to a 300°F oven for 5 minutes, then cool again. Next time correct the rested mixture with oat flour.
The edges crumble but the center holds
Loose flakes remained around the pan perimeter. Focus the measuring-cup pressure along the sides and into every corner.
The bars taste dry
Oat flour may have been packed, too many extra dry ingredients were added or the bake ran long. Weigh the flour and limit texture corrections to tablespoons.
The bottom is greasy
Natural peanut butter may have been measured with separated oil. Stir the jar completely before measuring and do not grease the parchment heavily.
Chocolate streaks through every cut
The slab or room may be warm. Chill for 20 minutes and wipe the knife after each downward cut.
The bars puff and then sink
A slight settling is normal. Strong puffing can mean the egg was not mixed evenly or too much baking powder was added; level the measure and whisk the binder thoroughly.
Storage and packing
Store fully cooled bars in an airtight container at room temperature for up to 3 days. Place parchment between layers so chocolate or a tacky surface does not bond the bars together.
For up to 1 week, refrigerate the container. A cold bar is firmer; let it stand at room temperature for 5 to 10 minutes for a chewier bite.
Freeze individually wrapped bars inside a freezer bag for up to 2 months for best quality. Thaw overnight in the refrigerator or for about 30 minutes at room temperature.
For a lunch box, use a rigid container so the bars are not crushed beneath heavier items. In hot weather, a cold source helps peanut-butter bars retain their structure.
Because this recipe contains oat flour and raw egg before baking, do not taste the uncooked mixture. The FDA explains why flour should be cooked in its raw flour safety guidance.
Frequently asked questions
Can I use quick oats?
Yes. Use the same weight. Quick oats make a more compact, softer bar and may absorb enough binder to need 1 tablespoon milk.
Can I use maple syrup instead of honey?
Yes, by weight. Maple syrup produces a slightly softer mixture; after the rest, add oat flour by the tablespoon only if the squeeze test fails on the sticky side.
Why is there both rolled oats and oat flour?
Rolled oats provide chew, while oat flour fills gaps and gives the binder more surface area. Using only large flakes makes a clean slice harder to achieve.
Can I omit the egg?
Not as a direct change. The egg sets and reinforces the binder. An egg-free bar needs a reformulated binder and is outside this version’s tested design assumptions.
Do homemade oat bars need refrigeration?
They can stay covered at room temperature for up to 3 days. Refrigeration extends best-quality storage to about 1 week and makes the texture firmer.
Are these granola bars?
They are softer and more cohesive than crisp granola bars. The texture resembles a chewy baked oatmeal snack bar.
Can I double the recipe?
Yes. Bake in a parchment-lined 9-by-13-inch metal pan and begin checking around 25 minutes. Press to the same approximate 3/4-inch thickness.
How do I keep every bar the same size?
Cut the square into four equal strips, rotate it and cut each strip into three. Use a ruler or small edge marks before the first cut if exact portions matter.
Recipe development note
These homemade oat bars were developed through culinary research and editorial review. They are not represented as a personal kitchen test. Peanut butter viscosity, oat thickness, pan material and oven calibration vary; use the squeeze, pressed-layer, edge-color and full-cooling cues.
Nutrition is an estimate per one of 12 bars without optional mix-ins. The accompanying visuals are AI-assisted food-editorial images, not photographs of a kitchen test.
Printable recipe card
Chewy Homemade Oat Bars Recipe
Ingredients
Equipment
Method
- Heat the oven to 325°F. Grease and parchment-line an 8-inch square metal pan.
- Whisk rolled oats, oat flour, flax, cinnamon, baking powder and salt in a large bowl. Add optional mix-ins.
- Warm peanut butter, honey and brown sugar over low heat for 2 to 3 minutes, stirring just until glossy; do not boil. Remove from heat for 2 minutes.
- Whisk egg, milk and vanilla separately, then stream into the warm peanut-butter mixture while whisking continuously.
- Fold binder into dry ingredients until every oat is coated. Rest 5 minutes.
- Squeeze a tablespoon. Add 1 tablespoon milk if it crumbles or 1 tablespoon oat flour if it smears, then wait 2 minutes.
- Transfer to the pan, cover with parchment and compact to an even 3/4-inch layer using a flat-bottom measuring cup.
- Bake 22 to 28 minutes until edges are light golden and the center is matte with gentle resistance.
- Cool in the pan 30 minutes, lift to a rack and cool 45 to 60 minutes more. Chill 20 minutes if needed for cleaner cuts.
- Cut the completely cool slab into four strips, then each strip into three bars using straight downward knife pressure.
Notes
- Warm the binder only until glossy; boiling can produce hard bars.
- Rest the mixed oats 5 minutes before correcting texture.
- Press firmly and evenly to about 3/4 inch, especially around the perimeter.
- Remove when edges are light golden and the center is matte.
- Cool completely before cutting into 12 bars.
- Contains peanuts, egg and milk; optional additions may introduce other allergens.
- This recipe was developed through culinary research and editorial review.
This recipe was developed through culinary research and editorial review. Peanut butter viscosity, oat thickness, pan material and oven calibration vary; use the squeeze, pressed-layer, edge-color and full-cooling cues.
Nutrition is an estimate per one of 12 bars without optional mix-ins.